


How to use a Tape to starter lead connector

1: This is the Tape to starter lead connector for single colour. The RGB connector looks the same although it has 4 coloured cables.

2: Cut the LED Tape along the cut line with a pair of scissors. The cut line will be marked on most LED Tapes by a small scissor icon. If it does not have this you can easily find the cut point as it will be a line in-between 4 solder pads (or 8 for RGB). The cut points vary for LED Tape, they are every 3 LED’s for 12v and every 6 LED’s for 24v.

3: Now take your Tape to starter lead connector and your new piece of cut LED Tape

4: Open the Connector

5: Slide the connector over the LED Tape making sure the 3m self adhesive tape has been removed and that the cables match up with the + and – printed on the LED Tape. Red goes to + and black goes to –

6: Close the connector lid down into place making sure the LED tape is right to the end on tight

7: Wire the starter lead connector to a transformer or extend it simply with a connector block. Your LED Tape should now work
How to use a Tape to Tape connector

1: This is the Tape to Tape connector for single colour LED Tape. The RGB connector looks the same although it ill connect 4 cables instead of 2
2: Cut the LED Tape along the cut line with a pair of scissors. The cut line will be marked on most LED Tapes by a small scissor icon. If it does not have this you can easily find the cut point as it will be a line in-between 4 solder pads (or 8 for RGB). The cut points vary for LED Tape, they are every 3 LED’s for 12v and every 6 LED’s for 24v.

3: Now take your Tape to Tape connector and your 2 pieces of LED Tape that you are looking to join.

4: Open the connector

5: Slide the connector over one of your LED Tape lengths making sure the metal pads inside the clip are clearly touching with the solder pads on the LED Tape
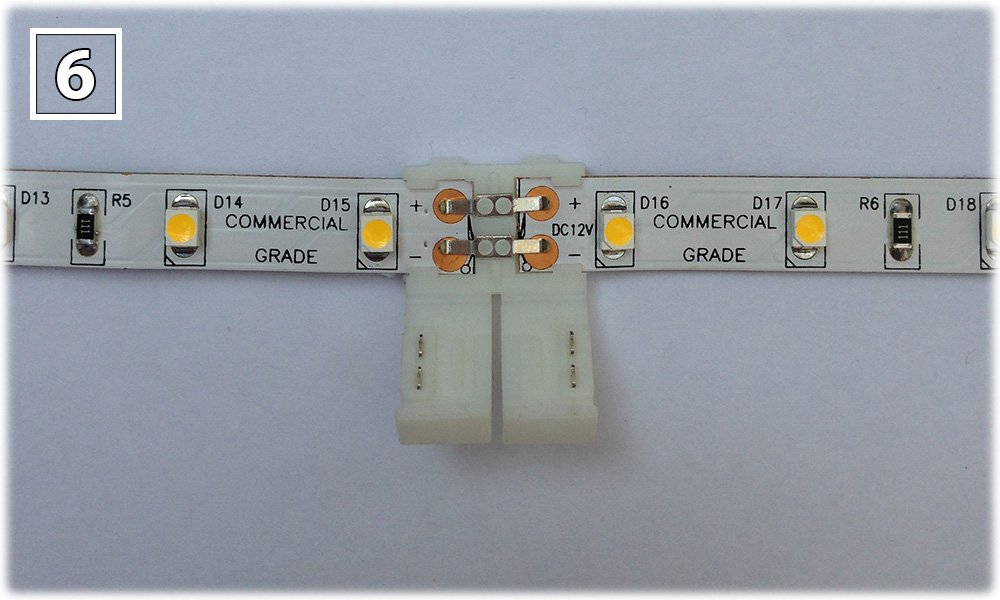
6: Now slide the 2nd LED tape into the connector

7: Close the connector

8: Now if the LED Tape is wired to a transformer it should work as one continuous length