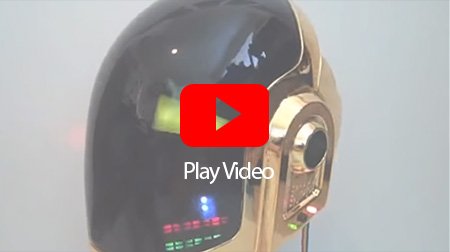
To create this amazing LED helmet took Harrison Krix seventeen long months to achieve the finished result he wanted. Yes this is a long project – but just think about the work that went into the build and you’ll start to realise why it needed all that time to accomplish it! The contruction process included many different aspects and skills, including moulding, casting, sculpting, painting, and of course the electronic wizardry to actually get the helmet to light up.
In order to create the helmet, Krix first had to create a cardboard mock-up of the helmet. He then added expanding foam to cover over it, and once this was done he could then sculpt the shape out accurately. After sculpting a few versions to find the best one and adding on the ear pieces with MDF, he used putty to smooth out the helmet. It was then ready to make a resin mould of the helmet.
Once the resin mould had been created, it was time to vacuum-form the front visor in clear plastic – so that when you come to wear the helmet, you will be able to see where you are going. Once the visor had been made and inserted into the helmet’s frame, the next step was to tint the visor so that people can’t see your face but you can still see out of it, just like the actual helmet that the Daft Punk guys wear. After adding in the back wire hair, Harrison moved onto giving the helmet’s frame its striking chrome effect.
Now it was time to add the electronics, so that the RGB LED Tape could then light up inside. To power the helmet’s circuitry, an Arduino, AA batteries and potentiometers were used – all attached externally to the Daft Punk helmet.
Krix has a very detailed project guide detailing all of the steps that he went through, as well as the problems he overcame along the way. You can find the full story at his blog site Volpin Props. And you can check out the three-minute video below, it shows the many stages of the helmet build and gives a good idea why it took seventeen long months!
